
Wooden ramps are a good investment for the summertime. Not only can they take a lot of wear and tear, but they are cost-effective and easy to make on your own. In this guide, we'll show you how to build your ramp so it's as sturdy and safe as possible!
A wooden ramp is a great way to increase accessibility in your backyard or garage. You can use it to transport goods or to provide a means of entry into a play area for your children. A wooden ramp is also an excellent choice if you want to create a safe, sturdy, and attractive addition to your property.
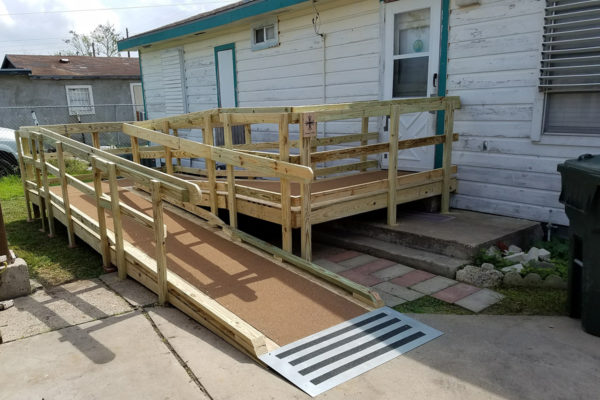
Image Source: Google
Pros of a Wooden Ramp:
- Wooden ramps are environmentally friendly because they don’t require any maintenance or painting.
- Wooden ramps provide a stable surface for your child to climb, making them ideal for beginners.
How to Build a Wooden Ramp:
Building a wooden ramp can be a fun and rewarding project for the home DIY enthusiast. There are a few things to keep in mind when constructing your ramp, however, to ensure that it is sturdy and long-lasting. Here are five tips to help you build the perfect wooden ramp:
- Choose the right wood
- Make sure the base is level
- Use a jigsaw or router
- Nail down boards
- Trim
- Drill holes for screws
- Install screws
Creating Something More Personalized:
- First, measure out where you want the ramp to go.
- Next, start marking off intervals along the length of the plank with a utility knife.
- After you’ve marked off the intervals, start positioning your supports along the line you drew earlier.
- Finally, attach the supports with screws or nails to the plank and onto your railing or wall.